This post shows you recipes and tips for DIY Lotion Bars.
Are you interested in making your own DIY skincare products? If so, creating your own lotion bars is a great way to start. In this blog post, we will explore easy recipes and essential tips for beginners to make luxurious lotion bars at home. Whether you are looking for a new hobby or want to create personalized gifts for loved ones, this guide will give you the knowledge and inspiration you need to start making your own lotion bars.
First Recipe: Simple Lotion Bar
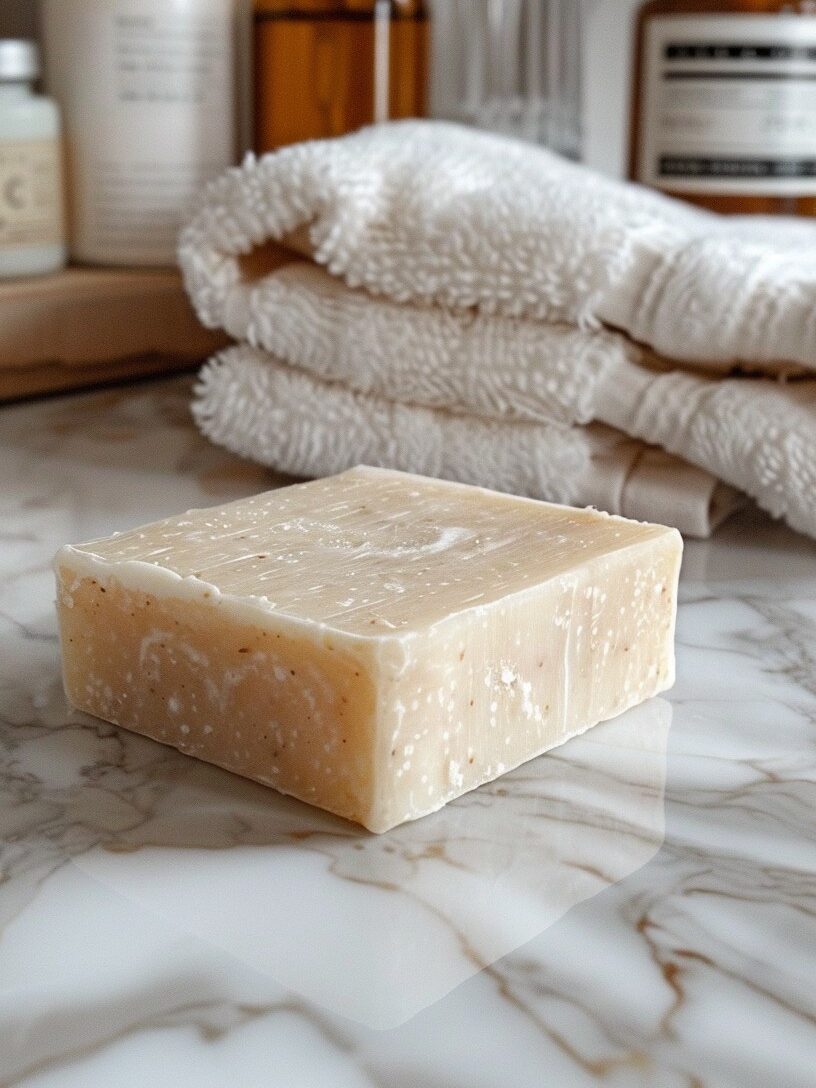
Ingredients:
- 1/2 cup shea butter
- 1/2 cup coconut oil
- 1/2 cup beeswax pellets
Instructions:
- Melt the coconut oil, beeswax pellets, and shea butter in a double boiler until well blended.
- Take off the heat and add your preferred essential oils or perfumes.
- Transfer the blend into silicone molds and let it cool and solidify for many hours.
- After the lotion bars have solidified, remove them from the molds and store them in a dry, cold location.
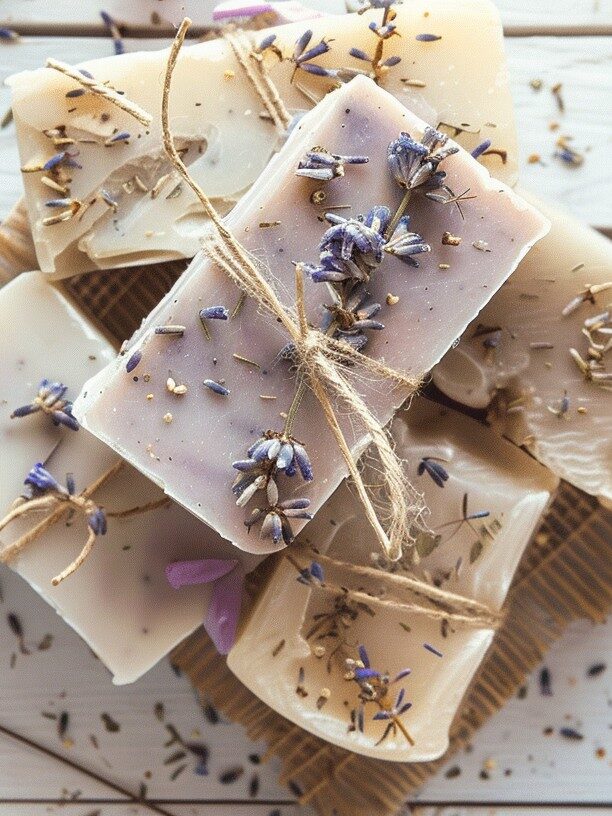
Second Recipe: Lavender Vanilla Lotion Bar
Ingredients:
- 1/2 cup cocoa butter
- 1/2 cup almond oil
- 1/4 cup beeswax pellets
- 10 drops lavender essential oil
- 10 drops vanilla essential oil
Instructions:
- Melt the cocoa butter, almond oil, and beeswax pellets in a double boiler.
- Remove from heat and stir in the lavender and vanilla essential oils.
- Pour the mixture into molds and let it set for a few hours.
- Once hardened, remove the bars from the molds and enjoy the soothing scent of lavender vanilla.
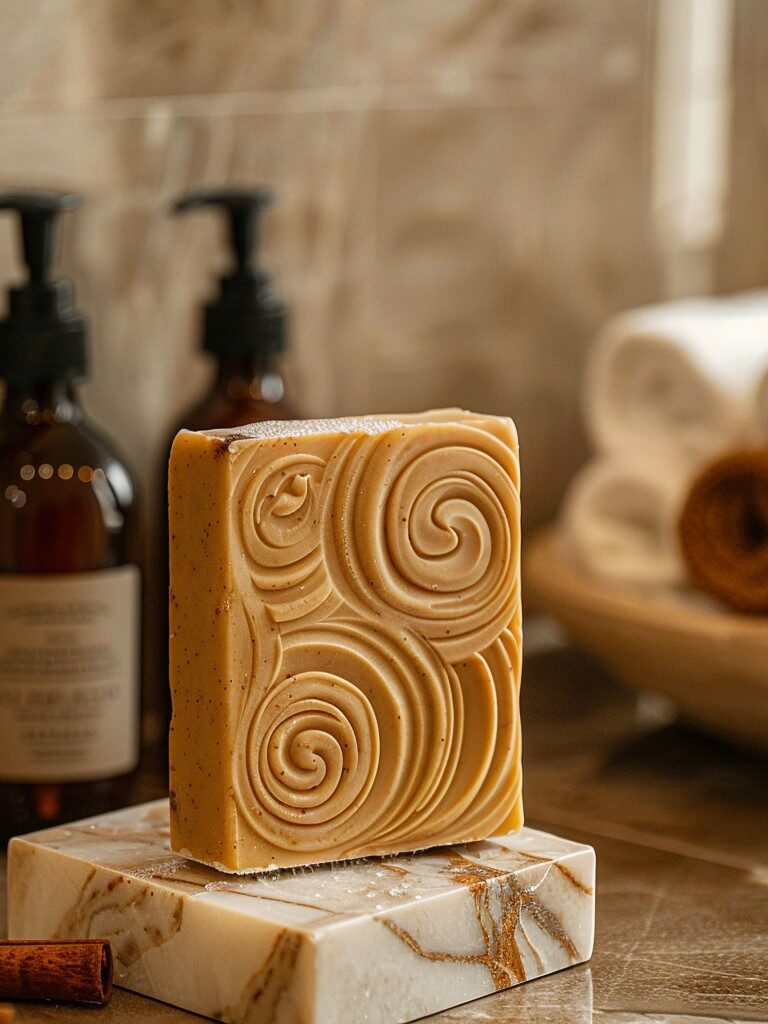
Third Recipe: Citrus Burst Lotion Bar
Ingredients:
- 1/2 cup mango butter
- 1/2 cup sweet almond oil
- 1/4 cup beeswax pellets
- Zest of one lemon or orange
Instructions:
- Melt the beeswax pellets, sweet almond oil, and mango butter in a double boiler.
- Add the zest of the citrus for a refreshing scent.
- Fill the molds with the liquid, then allow it to cool and solidify.
- When the bars have set, unmold them and enjoy the zesty burst of citrus.
Tips for Making DIY Lotion Bars:
- Use high-quality ingredients for better results.
- Experiment with different essential oils to create unique scents.
- Allow your lotion bars to cool completely before unmolding them.
- Store your lotion bars in a tin or container to prevent them from melting.
Creating DIY lotion bars is a fantastic way to indulge in self-care while also being mindful of the ingredients you are putting on your skin. With the simple recipes and valuable tips provided in this post, beginners can confidently embark on their journey to making personalized lotion bars that cater to their skin’s needs. Experiment with different scents, textures, and ingredients to craft unique creations that will leave your skin feeling moisturized and pampered. So why wait? Get started on your DIY lotion bar adventure today!
This post showed you Beginner-Friendly DIY Lotion Bar Recipes And Tips.
